Your first Internet High 5 with the uArm Swift!
So the wait is finally over! The Internet High 5 Machine website is finally live!
Currently you can send a High 5 to anyone via their email address. You get the option of writing a short message, and recording a short GIF. They can then receive this High 5 by clicking the link in the email!
That’s pretty cool.
But, the Internet High 5 Machine is also about physical interaction with an attached device, and to that end we have added support for the uArm Swift.
I picked up one of these in their recent IndieGoGo campaign, and I quickly built an elegant High 5’ing extension:
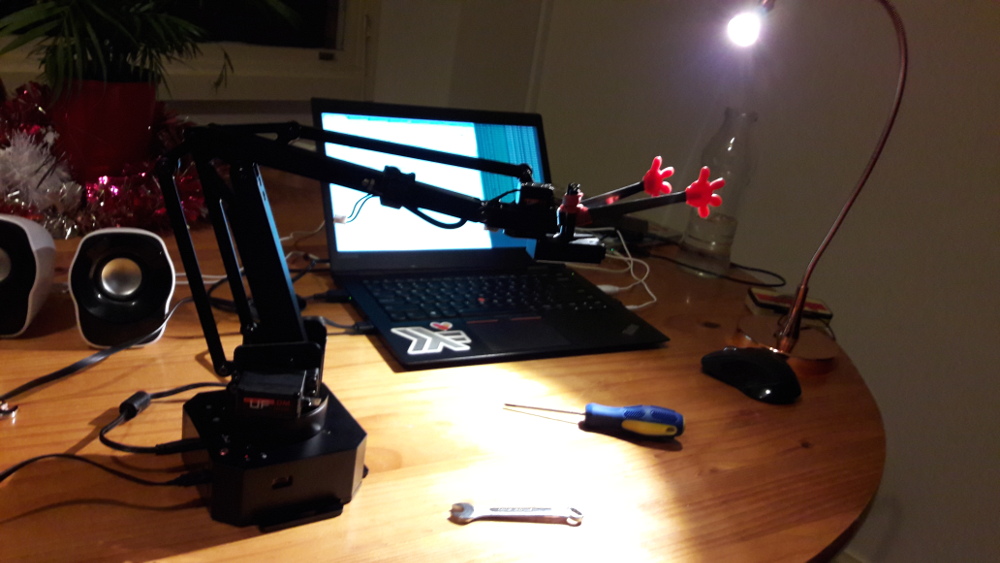
Then, by playing around with one of the open-source libraries that they provided, I was able to get it to give me a High 5:
Now, if you’re willing to get down and funky with some code, you too can connect your uarm to the Internet High 5 Machine website!
Technical - Setup of uArm Swift with the High 5 Machine Website
Below we list a somewhat-involved process to connect the uArm to the High 5 website. This process will hopefully get simplier in the coming months as the uFactory company releases updated versions of it’s code and we release more of the High 5 Machine software.
Firstly, we need to get the program that can perform a High 5.
- Clone uArm-5
> git clone https://github.com/internet-high-five-machine/uArm-5.git- Create, and activate, a conda environment (or otherwise use python 3.5) and install the the requirements
> cd uArm-5
uArm-5> conda create -n uArm-5 python=3.5- Install the requirements, which is a fork of the official
pyuarmlibrary:
uArm-5> pip install -r requirements.txt- Clone the high5-driver program, which is used to communicate directly with the High 5 website.
> git clone https://github.com/internet-high-five-machine/high5-driver.gitInstall stack
Setup stack to build this project
high5-dirver> stack setup- Build the
high5-driverproject
high5-dirver> stack build- Point the
settings.yamlfile at theuarm-5.pyexecutable.
high5-driver> cat settings.yaml
exec:
machine-command : ["../uArm-5/uarm-5.py"]- Run the
high5-driver(note: you should be in the conda envirnoment you created earlier, because it will run the python script):
high5-dirver> stack exec -- high5-driver- Send the
configurecommand to the driver, so that it connects to the High 5 website. You’ll find thetokenon your profile page:
configure {"server": "high5.cool", "url": "/", "email": "[email protected]", "token":"your-token-goes-here"}You’ll know this worked if it says websocket connected.
- Bask in the joy of receiving Internet High 5s!
Once you’ve done the above steps, when you go to receive a High 5 on the website, you will see the “Receive High 5!” button under the “Via your device” option become available.
Enjoy!